Wednesday, April 2, 2014

New Projects = New Inventory!

Happy Wednesday! 


I've been working on some household textile designs and just posted some new napkins for sale in the shop. I didn't design this pattern, but couldn't pass it up! Isn't it cute for a garden brunch? I'll soon be working on some of my very own patterns and colors on linen for everyday use. This means picnic blankets, tablecloths, placemats and more napkins. Hooray for hand dyeing fun!

Tuesday, March 18, 2014

And Because I Couldn't Keep it to Just One Slice...

I had to make a chalk board for the kitchen!


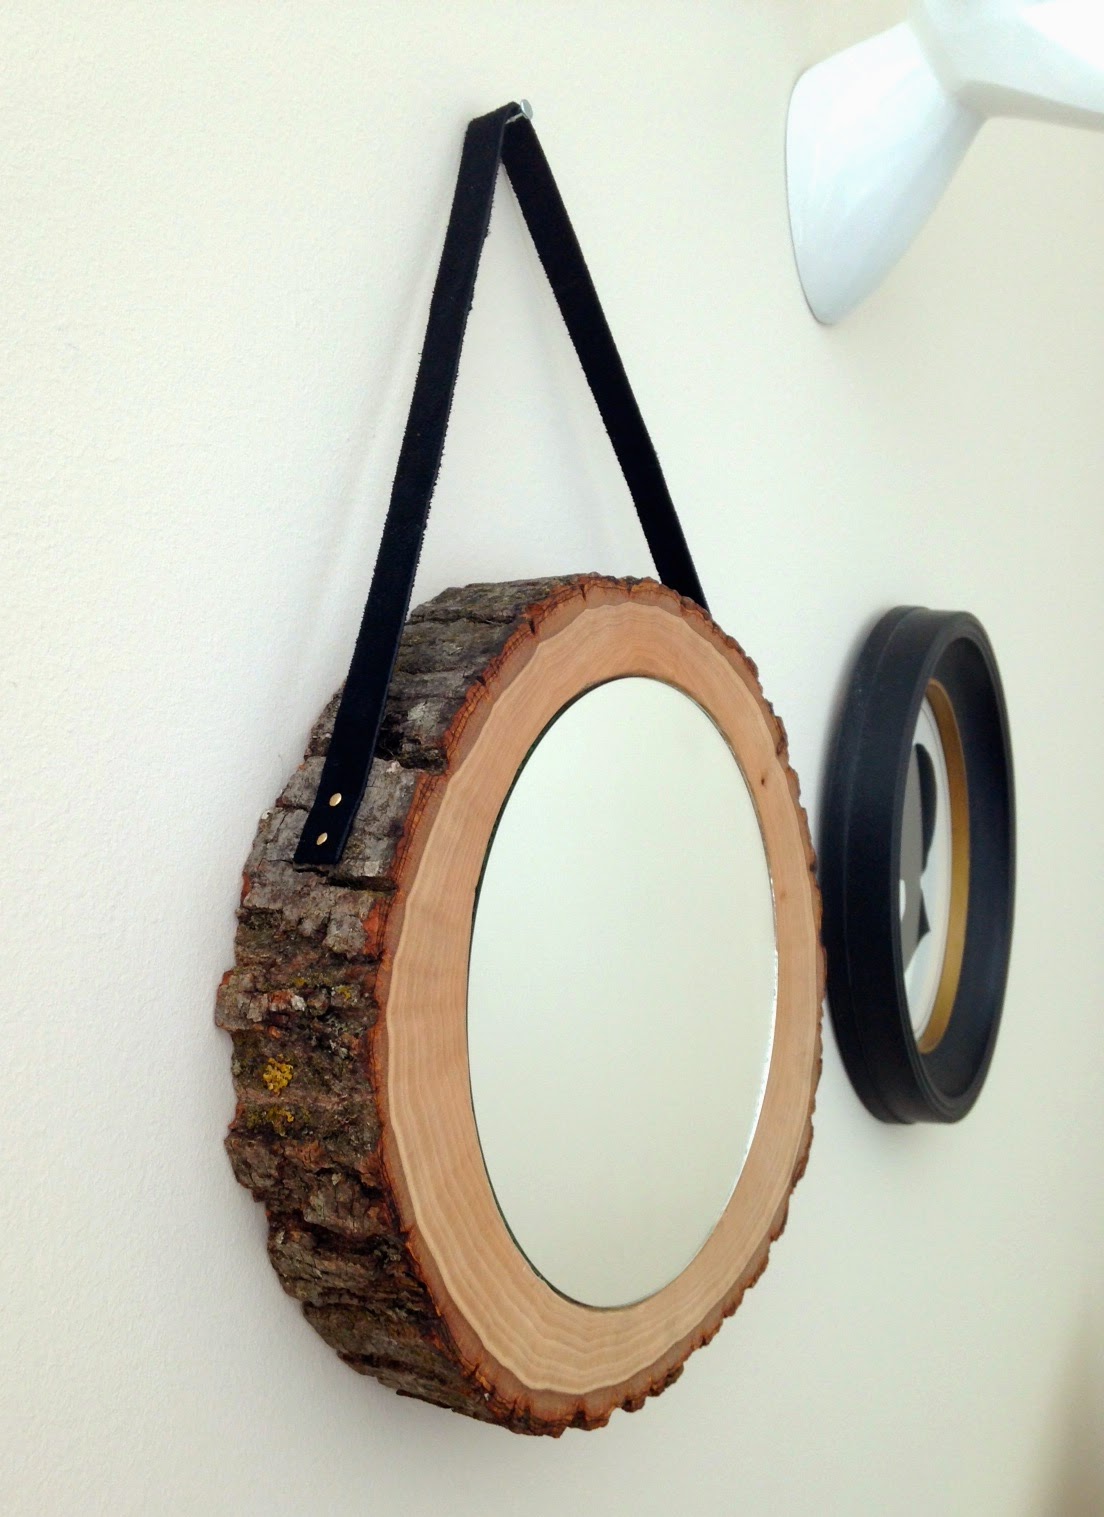
Same type and brand of wood slice as the mirror, but with no carving or glueing required. I really liked the look of a perfect circle inside the organic wood shape and sized out my plate collection until I found one that fit just right as a guide for my circle. Leaning against the edge of the plate I drew out the circle. Then I hand painted the shape with a brush and chalkboard paint. I have a pretty steady hand so I didn't tape off the edge of the circle, but if you'd like to, you can use electrical tape or another type of tape that is flexible so it'll follow a round line. I especially recommend this if you use spray paint, but remember to also cover the edges of the actual slice you don't get the spray paint outside the intended shape. The paint brand suggested using two or more coats so I went with four total (waited at least an hour between coats) and let it set for 24 hours. I recommend not sanding between coats because the chalk paint with begins staining the wood. I attached the same type of black suede strap as the mirror, but with copper nails instead of brass. I actually just cut that strap in half when I made the mirror so I had the other half left. I used mineral oil to condition the wood then hung it up. It's hanging above my coffee bar and I'm always looking for moments to celebrate my heritage so it seemed appropriate to go with "coffee with milk" in spanish.

Tuesday, March 11, 2014

Anthro Mango Slice Mirror DIY

Anthropologie Mango Slice Mirror


Cristina's Wood "Looked Softer and More Carve-able Than It Was" Slice Mirror made with lots of love and frustration


As per the usual, I found something awesome at Anthro, but still don't have enough income (got a job but just started--woohoo!) to invest it in a random home decor item. This was particularly sad because it was even on saleThe Mango Slice Mirror haunted me just enough to get me to try to make it! 

I already owned a slice of wood, courtesy of a random Michael's trip from way-back-when, just not the right kind so I went back to Michael's (a dangerous field trip when you don't have much money) and picked up a more appropriately sized wood slice and 7" mirror for less than $3.00. Thank goodness for coupons. Then I found some adorable nails in copper and brass for less then $1.75 a pack of 30 at Ace Hardware which I'll obviously use on other projects as well. Found the suede leather strap on a separate trip to Michaels (again, super dangerous). Aaaaaand and I was ready to go!

Living in a condo leaves me with limited power tool-type resources. As in, I can't use them. Also, I don't own any (not my choice). That, along with my mom having borrowed my Dremel, left me with one choice: carve out the area where the mirror will go. I'll admit, this is crazy. I do not recommend it. I'd prefer a wham-bam option, but I haven't been able to come up with one so in the spirit of making it happen, I moved along with carving out the shape to inset the mirror. I placed the mirror on the wood slice to use it as a template and make sure I was happy with the placement. The mirror isn't perfectly centered which I like. Once I traced the mirror shape onto the slice, I started by carving from the outside in until I had the right depth and size to fit the mirror so that it looked like one solid piece. 

Once the carving was done, I gave the edges a good sand and lathered on some mineral oil to condition the wood. Before adding the mirror, I attached the leather step using a hammer and the brass nails (size 3/4 x 17) I bought at Ace Hardware. After reading maybe a million glue and mirror forums (ok, like 7 or 8) I decided to go with hot glue. I figured if it ruined the silver mirror film, I'd replace it. I'm considering using a longer strap, but it's done for now.

And voila!


It ended up becoming a part of a small vignette happening on my bedroom wall.

Wednesday, March 5, 2014

Lately

I've been working on some home decor DIYs and a custom order for a friend. I also started working on an administrative project full-time for a few weeks and just didn't have the energy to get my thoughts down on cyber space paper. Thanks for you patience. I'll be posting more on recent projects soon!