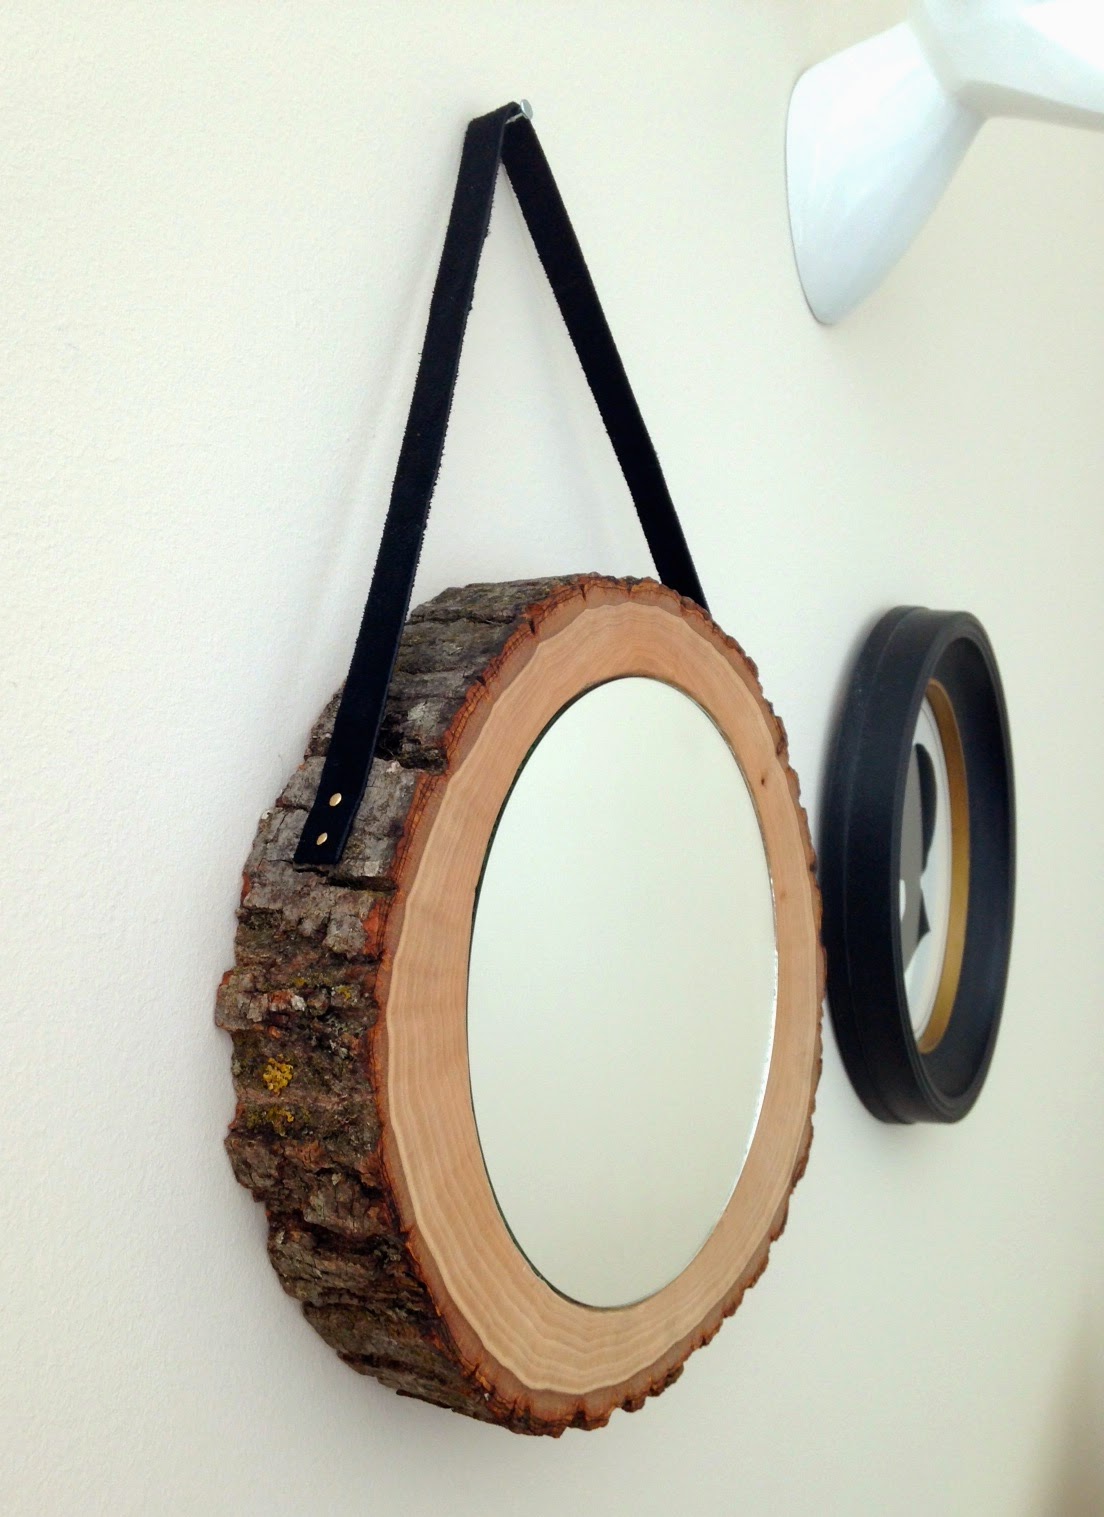
Anthropologie Mango Slice Mirror
Cristina's Wood "Looked Softer and More Carve-able Than It Was" Slice Mirror made with lots of love and frustration
As per the usual, I found something awesome at Anthro, but still don't have enough income (got a job but just started--woohoo!) to invest it in a random home decor item. This was particularly sad because it was even on sale. The Mango Slice Mirror haunted me just enough to get me to try to make it!
I already owned a slice of wood, courtesy of a random Michael's trip from way-back-when, just not the right kind so I went back to Michael's (a dangerous field trip when you don't have much money) and picked up a more appropriately sized wood slice and 7" mirror for less than $3.00. Thank goodness for coupons. Then I found some adorable nails in copper and brass for less then $1.75 a pack of 30 at Ace Hardware which I'll obviously use on other projects as well. Found the suede leather strap on a separate trip to Michaels (again, super dangerous). Aaaaaand and I was ready to go!
Living in a condo leaves me with limited power tool-type resources. As in, I can't use them. Also, I don't own any (not my choice). That, along with my mom having borrowed my Dremel, left me with one choice: carve out the area where the mirror will go. I'll admit, this is crazy. I do not recommend it. I'd prefer a wham-bam option, but I haven't been able to come up with one so in the spirit of making it happen, I moved along with carving out the shape to inset the mirror. I placed the mirror on the wood slice to use it as a template and make sure I was happy with the placement. The mirror isn't perfectly centered which I like. Once I traced the mirror shape onto the slice, I started by carving from the outside in until I had the right depth and size to fit the mirror so that it looked like one solid piece.
Living in a condo leaves me with limited power tool-type resources. As in, I can't use them. Also, I don't own any (not my choice). That, along with my mom having borrowed my Dremel, left me with one choice: carve out the area where the mirror will go. I'll admit, this is crazy. I do not recommend it. I'd prefer a wham-bam option, but I haven't been able to come up with one so in the spirit of making it happen, I moved along with carving out the shape to inset the mirror. I placed the mirror on the wood slice to use it as a template and make sure I was happy with the placement. The mirror isn't perfectly centered which I like. Once I traced the mirror shape onto the slice, I started by carving from the outside in until I had the right depth and size to fit the mirror so that it looked like one solid piece.
Once the carving was done, I gave the edges a good sand and lathered on some mineral oil to condition the wood. Before adding the mirror, I attached the leather step using a hammer and the brass nails (size 3/4 x 17) I bought at Ace Hardware. After reading maybe a million glue and mirror forums (ok, like 7 or 8) I decided to go with hot glue. I figured if it ruined the silver mirror film, I'd replace it. I'm considering using a longer strap, but it's done for now.
And voila!
And voila!
It ended up becoming a part of a small vignette happening on my bedroom wall.


No comments:
Post a Comment